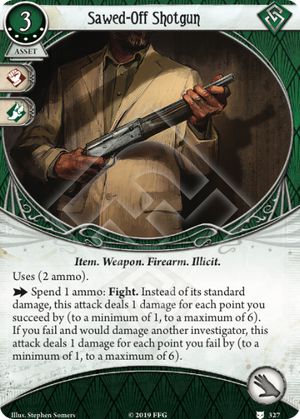
I've been using this card with Daisy Walker rather than with one of the main Mystics which makes this perspective slightly different. The short version is that I really like the card, though I appreciate that it's not awesome.
So let's start with the basics. I think the icons are better for Daisy Walker than they are for the Mystics, particularly the Agility, so that's something. It's also important to point out that it's both fast and so it doesn't cost you an action as well as it costs 0 resources. This means that the only cost to it is the slot is takes up. The ability to play it at pretty much any point in the game regardless of location or turn order really increases the odds you can use it at a good time.
Now for the more complex stuff. There's lots of times you can use this, but the times that provide a good benefit are much fewer. Reacting to things like nasty encounters haven't turned out well for my group. Typically we've drawn a terrible token and so there's little else to do than suck it up - no amount of committing will help. In fact various of the uses of the card are for nought when you draw a bad token - all that happens is you know the inevitable and so either just fail or end up wasting an action.
There are times when you find out how much you need to commit (or not) and those are nice, but they're often pretty niche. On the one hand you might be really likely to fail so there's a question about why you're doing it anyway and typically you'll just find out that up you're going to fail. In another case you might be pretty likely to succeed and so you just confirm that that works too with no real value. The ideal situation is that it's a challenging but not insurmountable test for which you have enough cards to commit but would ideally save them if you can. However, you must consider that you're spending a card to save cards so you'll need to save at least two cards to make it worthwhile. Hmm. that's a pretty niche case in my opinion. I suppose you might find out how much to boost with something like Higher Education though.
So where does this leave us? Well, it really starts to improve when:
- you have charges on things that you want to avoid wasting
- you're using cards you want to make sure you get the positive effect from (e.g. extra clues or damage)
- when you're about to perform actions where certain tokens cause drawbacks.
When reading the other review here I saw that this perhaps has a lot more use in a Mystic deck than with Daisy Walker. This is because most spells fit two of these criteria. With Daisy Walker you're generally just smashing out clues so it has less use, but we have been using it with Old Hunting Rifle on another investigator nicely. Some uses are random chances - using it essentially unnecessarily before Archaic Glyphs meant I avoided an autofail that would waste a token - and those are nice but not exactly strong. You can get some utility by using it early on as well - ideally before anyone has started their turn - and essentially help plan your turn. If you get something cool you or someone else can do good stuff, but generally you learn "yup you will fail the test" and so plan around that accordingly.
As I said at the beginning, I like this card and it's fun, but in my opinion its use cases are more situational than I at first thought. It's almost useless for encounters as well as for many of the Big Moments that appear in this game. It's most useful things with limited uses such as spells, items and cards, and things you control that may have bad side-effects on certain pulls.